The Right 3D Printer Wire, Increase accuracy
The correct 3D printing press belt is a key factor but is often overlooked when the quality of printing is optimum. Many of the original print cases were very good, but later there were ripples, soft corners, or mismatched print layers. Although often blamed for the slicer or material installation, the real cause lies at an unsuited string tension.
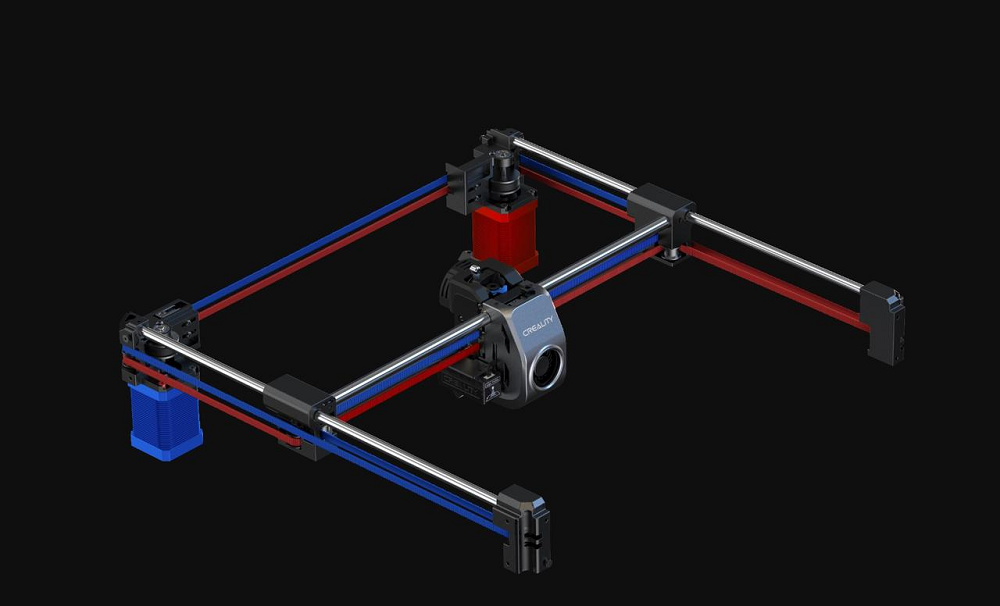
String determines the accuracy when the printer moves on X and Y axes. If the belt is too loose or squeezed too tight, your print will not reach the sharpness even though it is optimumly installed. In this direction, you will find out what a 3D printer belt is, how to test and how to adjust, and how to maintain properly.
What is a 3D press belt?
In most 3D FDD printers currently on the market, X and Y axes use flat-shaped dental belts to control the motion. These belts are connected to the print head or table through the stepper motor engine. Thus, a 3D printing press belt is the degree of tightening or tension that puly affects the belt.
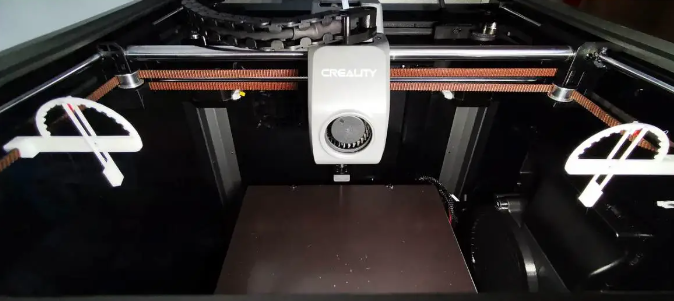
Appropriation fit play a key role in print quality. If the belt is too loose, it can be slipped or shook, leading to errors such as the layer of shifting, miscalculation or opacity of opacity on the print surface. In contrast, if the belt is not properly stretched, it can also cause the engine and puly to wear out over time.
5 Wiremarks Need Reconstruction
An early awareness of the signs of tensions will help you to deal with them and avoid printing errors. Below are five common signs that your 3D printer belt needs to be checked and adjusted:
1. Ghosting or Ringing
Print surfaces appear faintly as surpluses of images after sharp edges, also known as oscillation or railing. The cause of the loose belt caused the print head to shake after a sudden shift.
2. Print Layer
Parts of the print are transversed compared to the layers below. This occurs when the loose belt makes the teeth slip on the ply or causes the print head to exceed the expected stop position.
Three. Dimensional Dimension Size
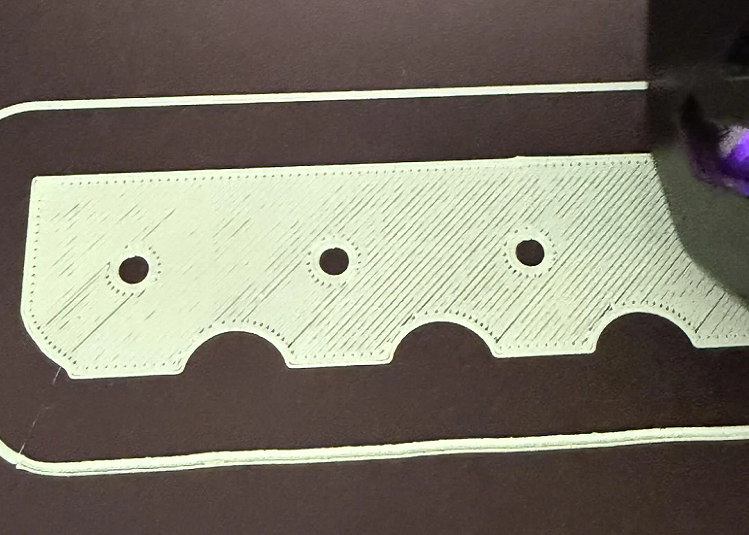
The circular is printed into oval or squares that are transformed into rectangular shapes. This is a typical sign when the string tension between the shafts is not equal, causing the machine to fail to keep the geometry accurate.
Four. The ligature is too large Excessive Belt Defection
Pressing the middle of the belt, if you see the hammock down too many mms or the loose feeling, means the belt is not stretched enough. The standard-level belt will be moderately strong and give a slight boom when the screws are down.
Five. Hao specific physical erosion Visible Physical Wear
Check the belt to see if it's worn out, broken or tooth loss. Even though the tension looks good, when the belt is down, it's still going to cause the slide and it could be broken at any time. You should replace it if you notice it's bad.
3D Printer Wired Check
Before tying the belt, you need to check and evaluate the current tension. Below are simple methods to help determine the string tension without special equipment.
1. Check for Definition Tests using ruler
Click on the middle part of the belt. The standard wire will have a certain hardness and only a hammock of about 1 mm per 6070 mm in length. If the belt is easily bent down like a loose rubber band, then squeeze it.
2. Check with Pluck Test Sound
Lightness on the longest string is like guitar strings. If the sound is low and clear, the tension is ideal. It's too loose. If the sound is high, the belt is being squeezed too tight and may be affecting the motor.
Three. Check Manual Glide Test Manual
Turn off the machine and move the print head or hand print table. If the movement is smooth and regular, it's normal. If you feel a delay or leave when you change course, the belt is loose. If the belt is too heavy or sick, the belt is too tight.
Four. Check with the Mechanical/StateTools Tool
You can use a 3D printing tension measure to test the actual hammock. In addition, applications such as Brisbane Tuner or Spectryzer can be used to measure the vibration frequency, typically the standard belt will be located in approximately 6090 Hz. With high-level lines such as Prussa or using GHS, you can run the Belt Test feature to test and receive digital results.
How to Ordnify and Bind Printers 3D
The adjustment of the belt tension may vary from one line to another, but the general principle is to loosen, adjust the position, and squeeze. Below are the basic steps for newly started people.
1. Ready
First, turn off the printer and draw the power. This helps to ensure safety, to avoid unwanted or dangerous motors during operations.
2. locate the Tensioner belt increased position
Find the unit's position to increase the belt at two X-head X-axis print and Y table print. This is the area where you're going to perform a string tension adjustment.
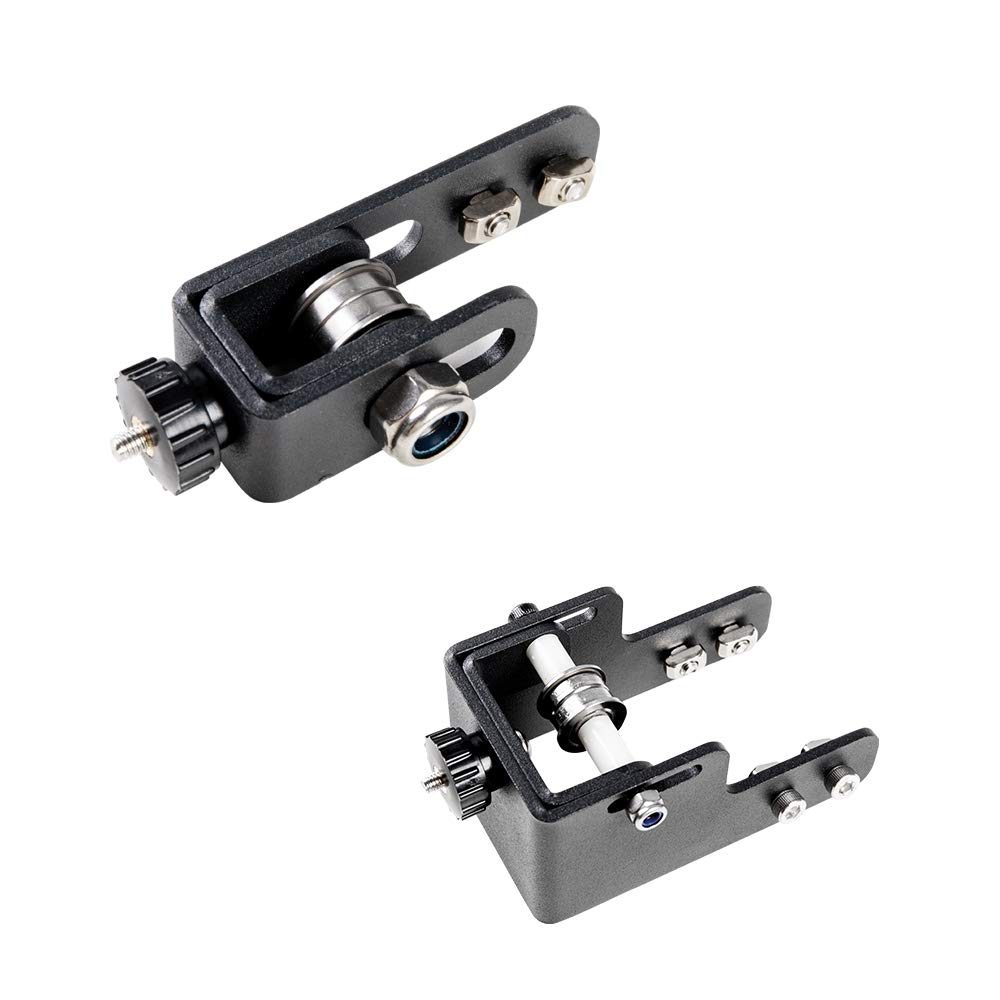
Knob Style knob type: Modern printing lines such as Anycubic Kobra or Creality Ender 3 V3 often use hand twists to adjust the string tensions quickly and convenienceally.
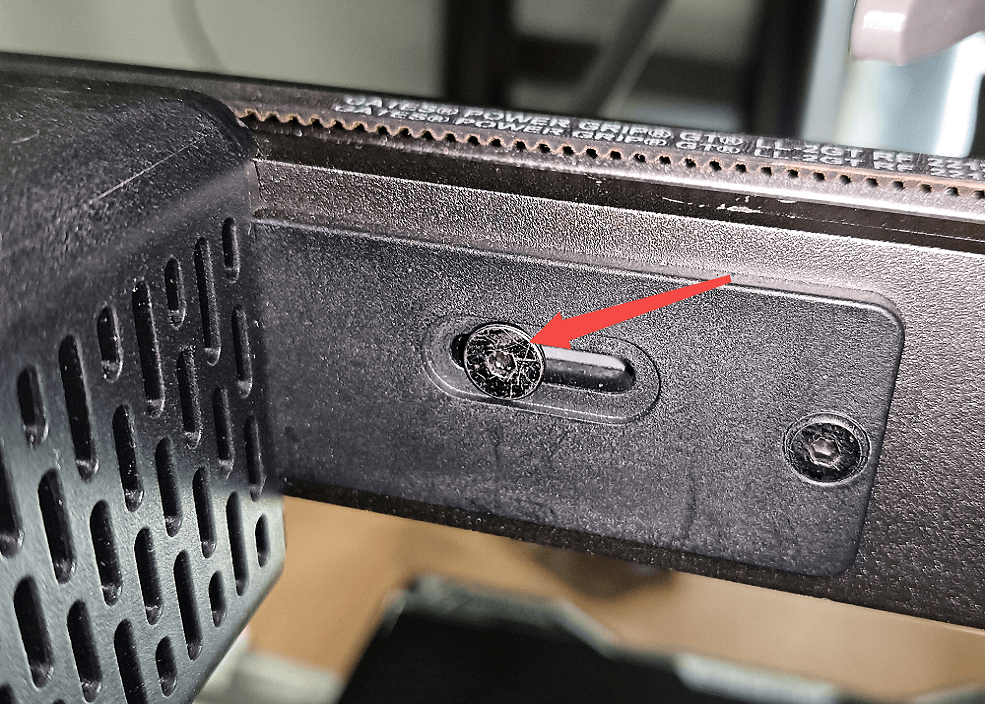
Screw Style: The old machine lines or self-assembly machine DIY typically use the conch to fixed the slide rack, allowing for the adjustment of the string by loosening and tightening the position.
Three. Wires
For the knob structure, you just need to turn the nipples clockwise to squeeze the belt. During the adjustment process, it is possible to combine with the previously mentioned Pluck Test method to determine the appropriate level of tension.
For the structure using the snail, first loosen the fixed snails so the support can move. Then, use the rhinos as levers to push the lift away from the engine frame or to stretch the belt by hand. Upon reaching the desired tension, hold the position and tighten the snails. We need to make sure that the belt is always parallel to the aluminum bar and not twist in the fixed process.
Four. Deletion Check
As the machine is still off, move the print head and hand-printing table. The movement needs to be smooth, light and not make unusual noises. If you feel that there is a degree of vulnerabilities, or you may have had a feeling of shortness, the belt may well have been pressed too tight, which could cause premature wearout to the engine.
5, In Check
Turn on the machine and perform a preview of a small Calibration Cube sample. Observe the vertical edges to check the oscillation phenomenon, and also check the surface above to assess the accuracy of the size. Make sure that the two X and Y axes have equal precision and are not distorted.
Belt tension is a fundamental factor in the maintenance of 3D printers but directly affects the quality and stability of the print. The ligature adjustment needs to achieve a reasonable balance, because if too liquid will cause errors such as scurvying or deflecting the layer, while if too straining creates pressure on the engine and reduces the device's longevity.
With just a few simple tests and adjustments, you can significantly improve the quality of the print, from stable to professional. This is one of the fastest and most effective ways to optimize machine performance without changing hardware or complex installations.
To maintain a long-term effect, you should check the period of string tension, especially after long periods of use or when you notice unusual signs in the printing process. Proper maintenance not only enhances product quality but also extends the life span of 3D printers.
If you are having problems with the quality of print quality or are not sure how to adjust your belt to your computer line, do not hesitate to contact DETSA for detailed advice and optimize print performance in the most effective way.