Detsa specialises 3D services

_Other Organiser

Create File 3D to Print: Guide From AZ to New People

Create File 3D to Print: Guide From AZ to New People

Create 3D files for printing is the important first step in starting with 3D printing technology. From delicate jewelry items to tests for product ideas, all of them need a standard 3-D model file. However, the creation of the first 3D file can be confusing to many.

The file creation guide for Creality's 3D printer will help you acquire basic knowledge. We'll explain each step clearly and share the useful tips to make your print the best. Whether you're new or experienced, learning to create the standard 3D file is the key to making beautiful and accurate copies.

Fit 3D Design Software Selection

The journey created 3D quality print not only begins when the printer works, but also from earlier in the digital environment with 3D design software. Yes, the first step to creating a 3D print product is the right software choice.
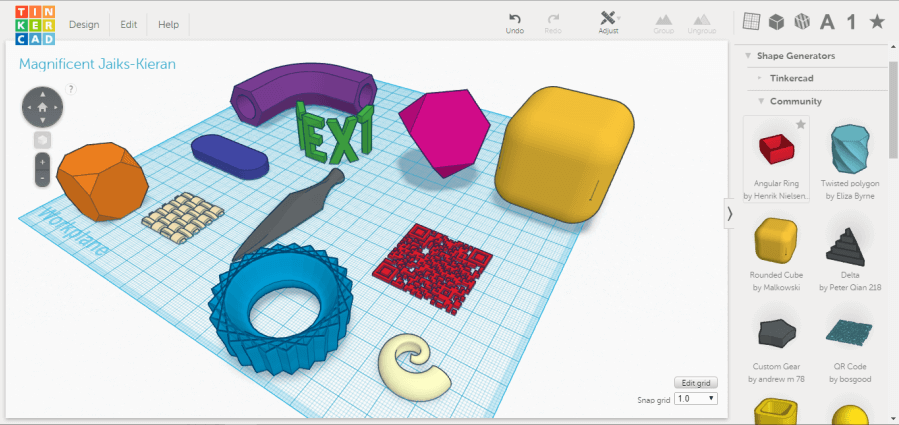
Fit 3D Design Software Selection

Selecting the appropriate device may have a major impact on the design process and the quality of the final print. Below are analysis of several prominent software, consistent with various levels:

BeginnerFridly Tools

Tinker CAD: For new ones, Tinker CAD is recommended and well-known for his friendliness and ease of use. This is 3D-based web platform design software, which is the best starting point for those who are not familiar with 3D printing. Smart interfaces and basic features help you quickly learn how to create 3D models to print. In addition, Tinker CAD is completely free and offers many guidelines for you to start.

SkitchUp: This software is a little more complicated than Tinker CAD. However, it is still suitable for the newbie. SkitchUp offers more features to create detailed models that are not too difficult to use.

Intermediate Ojectors

Fusion 360: Fusion 360 is the bridge between amateur users and professionals. It offers the ability to design strongly with higher precision and control, which is well suited to create complex designs.

Blender: This tool is known for its flexibility and is well suited for both the animation and the 3D model. This makes it a great choice for those who want to explore more than static copies.

ProfPeral SLP

SolidWorks: Used widely in industry and engineering fields. It offers advanced features for people who need high-level details and complex designs.

AutoCAD: The top software in architecture and design. It is known for its high accuracy and for its key role in making technical drawings.

When selecting 3D design software, consider some factors:
First, is the software easy to use?
Next, does it have the features you need?
Also, check your 3D printer compatible capabilities.
Finally, consider the purpose you want to use.
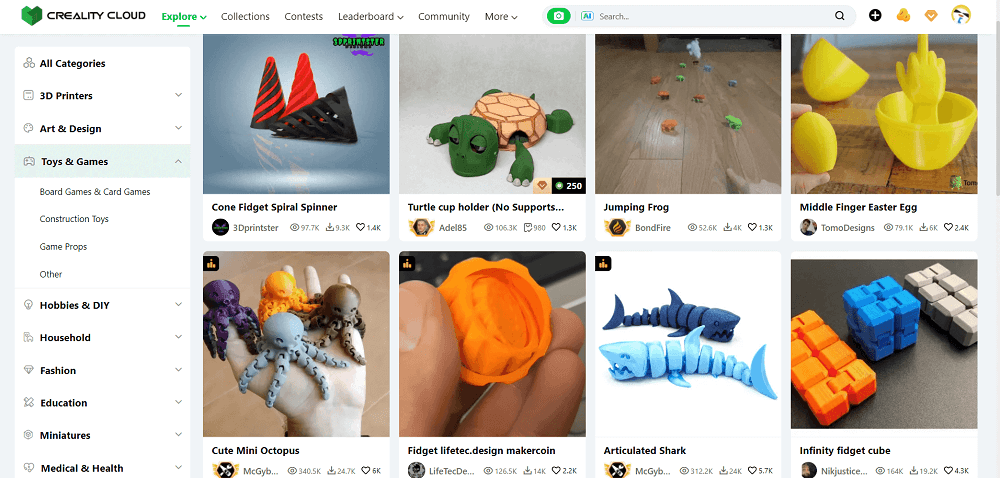
create 3d print file

Create 3D Model

How do you create a 3D print model? Here's a step-by-step guide to create a basic 3D model.

Computing Ideas

Often, the process of designing a model that can be printed 3D begins by sketching ideas on paper. This was a very important first step because it helped identify the foundation for later digital design.

Many designers often start with simple drawings to capture the main shape and size of the product. This helps you better visualize the idea and detect the underlying problems before starting to use the software.

When sketching, make sure you consider the elements such as proportions, dimensions, and levels of detail that you want to achieve.
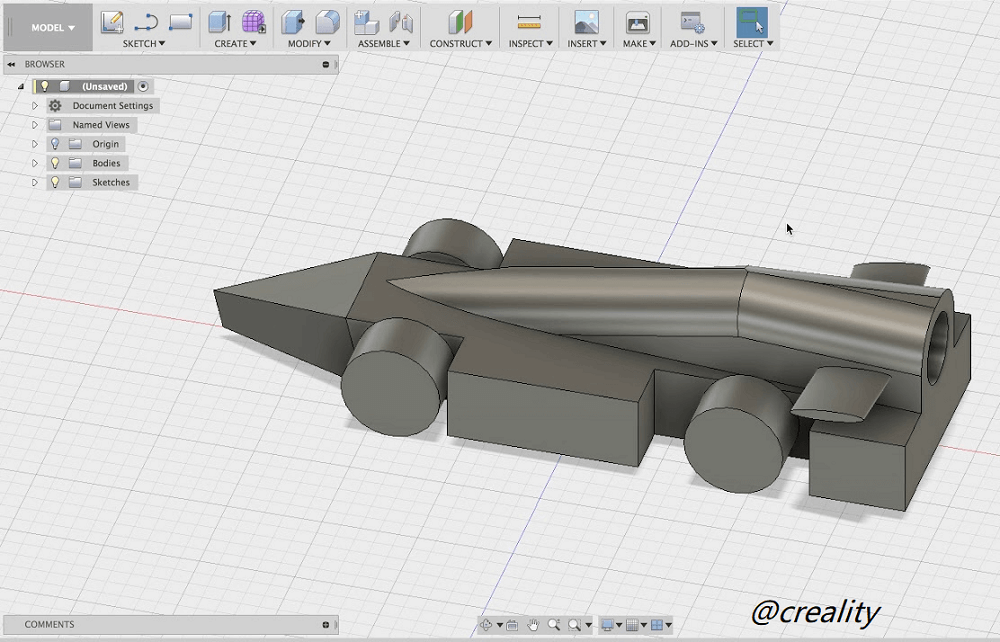
Digital Model

Using software like Fusion 360, designers began building their digital model. The tools in these platforms allow for detailed control of the design component, which adheres to the original sketch.

 
Digital Model
Digital Model

Size & & Scale

The precision of the size of the model is a very important factor. You should regularly check and adjust the rate in the software. This helps to ensure the printing product meets the requirements properly.

Expert tip:
To avoid printing errors, visualize the 3D printing process. Design should not have the floating details flotiling elements. Let's maintain the thickness to the wall testness equal to ensure the sustainability. Also, remember that training will help you to complete your skills, so do not hesitate to experiment and adjust in the design process.

Prepare the 3D model for printing

When the digital model is completed, the next step is to convert it to a printable state. This is an important period in order to ensure that the print reaches the best quality.

Watertight Close Geometry / Nonmanifold

The 3D model used for printing needs to be sealed with watery water, which means there are no holes or holes in the surface. Otherwise, the printing process may have an error. Users typically use tools such as Meshmixer to check and repair errors that can cause leaks.

Ask yourself, if you pour water into the model, will the water flow? If so, you need to find and seal those holes. This process is also called the manifold model.

Exclusive models

For the printing process to take effect, remove unnecessary details. At the same time, reduce polygons if possible. This helps speed up the processing and reduce the errors on slicing.

Edit Nonmanifold Bug

To deal with nonmanifold edges does not belong to the right two sides. These errors can cause problems in print. So software like Netfbub is useful in detecting and correcting errors.

Thick to Wall Thickness

Each surface of the 3D model needs a certain thickness. When designing on software, you can create surfaces that have no thickness, but 3D printers need this information to know how thick the product is or whether you want to print it completely.

When switching from 3D models to actual objects, data on volume or thickness is required to ensure accuracy and sustainability.

Export 3D files to print

When you're satisfied with your design, the next step is file output. When preparing to print the 3D model, selecting the correct file format is very important. This option affects the ability of 3D printers to read and recreate design.

So what are the common 3D print formats? Below are the details:

Select File Format

STL
This is the most common file format in 3D printing. STL is abbreviation of Standard Tessellation Language either Standard Triangle Language.

It is used primarily for 3D FDM printers and is preferred due to high compatible capabilities, most of which support this format. However, STL only describes the external shape of the model, not including color or texture.

OBJ
The OBJ format is consistent with designs that require colour and texture. So it's more suitable for more complicated prints.

STEP/IGES
The industries require high precision typically using STEP and IGES. These are important formats for detailed and complex engineering models.

Set parameters on output

The settings on export file can affect the accuracy of the size, quality and surface of the 3D print. So you need to select the appropriate parameters in the CAD software before switching to STL formats.

In terms of resolution, the higher the resolution, the more detailed the model is. However, this also increases the amount of file and processing time. Also, in order to avoid mismatching the ratio, make sure that the unit as a file output coincides with the unit used in the design software.

Adjust settings based on the ability of the printer and the product's requirements. For example, if you use OBJ files, you may need additional color or texture support.

Last Check before Printing

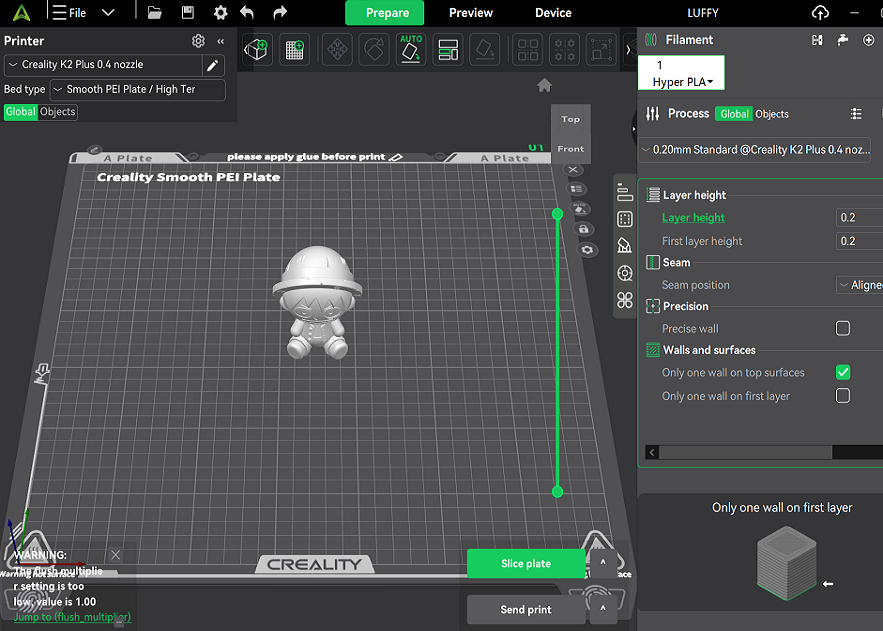
Before you start printing, you need to check for the last time to make sure that everything has been set up correctly for a perfect print. Use the software to perform the final sweep to detect errors.

Dealing with problems such as nonmanifold edges or split vertex points. Also, if possible, print a small version of the model to check errors in the print process.

At the same time, make sure that the printer's installations have been optimised for the material you are using.

Creating a 3D file to print is not simply designing a model, but also a process of coming up with ideas, pictures, optimum to export file and check before printing. Each step plays an important role in determining the final quality of print. As you embrace these principles, the creation of beautiful, accurate 3D printing products becomes much easier.

Detsa Print and Processing File 3D

If you have no experience or need assistance during the design and processing of the file, Detsa provides services:

  • Design and edit 3D files on demand
  • Treat 3D scan files, fix models
  • In 3D with multiple materials
  • Advise files to ensure quality and cost saving

Contact Detsa for quick counseling and support during 3D product deployment.


Ning

Zalo
EnglishenEnglishEnglish

Send us the information. We'll try to reach you in 10 minutes.