How to Restore the First Print Class of the 3D Printer
The first print class error of 3D printers is a common problem that most users encounter. When the first layer fails, the entire print behind it is easily broken: not attached to it, the surface is irregular or in print, and it is in the middle.
The first printing class was the basis for whether the print was successful or unsuccessful. The good news is that most of these errors can be overcome if you know how to test and adjust correctly. This article will help you to identify common errors, causes, and effective handling.
How to Have the First Print Class Smooth When Printing 3D
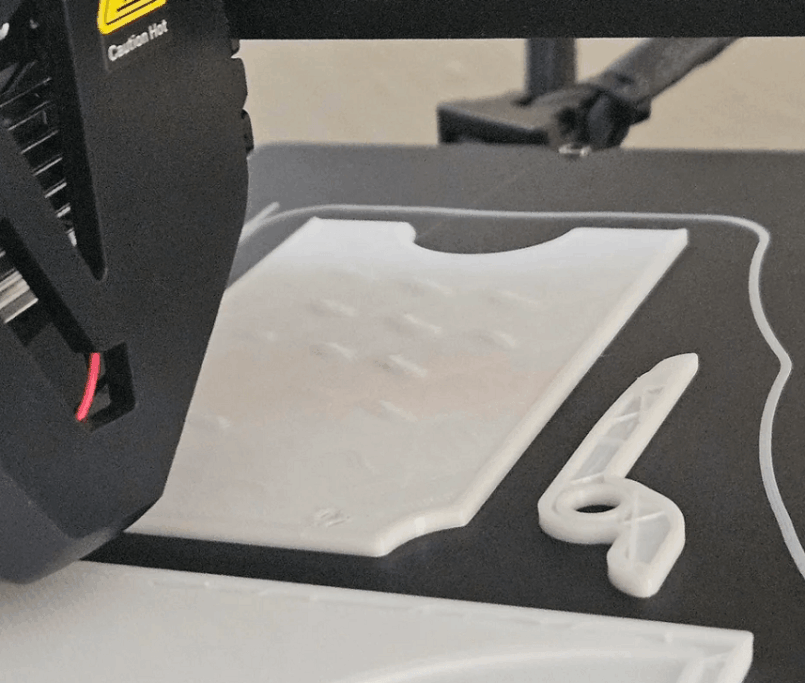
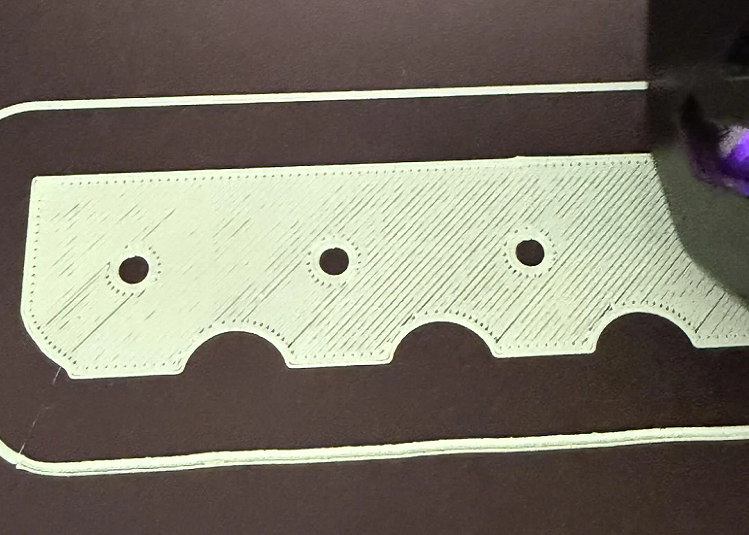
Before going into specific errors, you need to understand what the ideal result is. A good head print would be slightly pressed to the surface but not crushed. The lines should be bound together, without gaps. The surface has to be equal, without a scratch or a scratch.
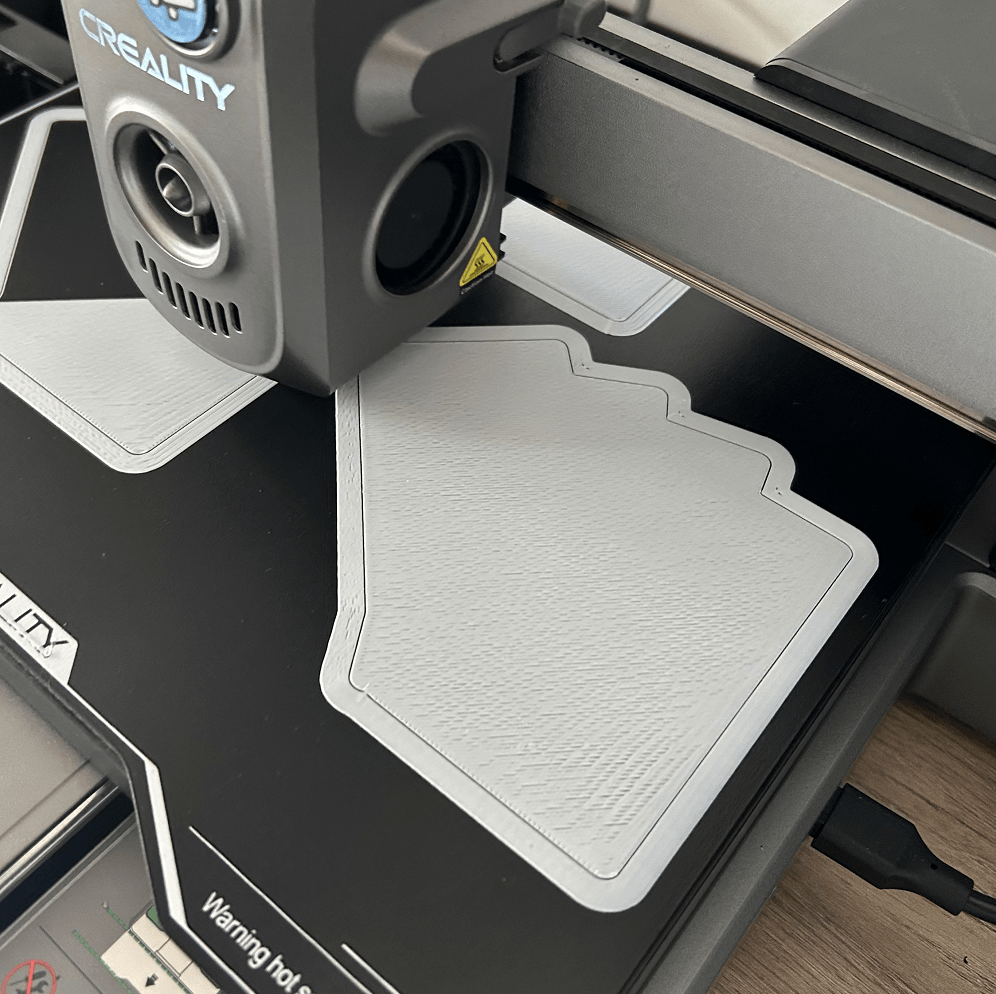
If you have not reached such results, check the following basic elements:
Make sure the table is properly scaled
Standard Zoffset Install
Cleaner table surface hygiene is more important than you think.
Use table temperature matching type filament
Reduce the Printing Speed of the First Layer
Failed to attach first layer of print
If the print does not cling to the printing table, the latter are virtually meaningless. This is the most common error, the first ever to start.
The first printing class is not attached
This is the most common problem: filament does not stick to the press table, is dragged or blubbered around the head.
Common cause:
- The dirty print table surface from the hand also causes errors
- Not too far from the print table
- Table temperature is too low
- Print speed first layer too fast
Remediation:
Trước tiên, hãy vệ sinh sạch bàn in. Nếu bạn thường xuyên chạm tay vào, bề mặt có thể bẩn hơn bạn nghĩ. Tiếp theo, kiểm tra Z-offset — nếu nozzle quá xa, filament sẽ không có độ “ép nhẹ” cần thiết để bám xuống. Cuối cùng, giảm tốc độ in lớp đầu để tăng độ ổn định.
The Warping Edge was lifted up
You can see the edges of the print curved up from the print table, this is called the Warping phenomenon, which often occurs with large prints.
Common cause:
- Table temperature is too low
- Wind or cold air around the machine
- The material shrinks when cold
Remediation:
Lighten the print table temperature to improve the grip. Place the printing press in closed areas, avoiding cold winds. You can also use brim to increase the area of contact with the print table. With materials such as the ABS, it is recommended to use additional encolosure compartments to limit curve.
First Layer Peeling Layer Bong
The error was quite offensive because the initial print seemed to be okay, but a partial first layer was later removed from the print table.
Common cause:
- The printing table is not clean enough.
- Print speed first layer too fast
- The coolant moth runs too soon
Remediation:
Hãy vệ sinh lại bàn in (đúng vậy, lại lần nữa). Sau đó giảm tốc độ in của lớp đầu tiên để tăng độ bám. Đồng thời kiểm tra quạt làm mát — một số vật liệu cần thời gian “ổn định” trước khi quạt bắt đầu hoạt động, nên nếu quạt chạy quá sớm sẽ dễ gây bong lớp in.
plastic error in first layer print Extrusion Issues
At times, filament still adheres well to the print table, but the print lines are not nice or irregular. At this point, the problem is often in the way that the plastic comes out of nosy, not the grip.
Publishing between print lines
If you see print lines in the first class that have space between them, then there's definitely a problem.
Common cause:
- Not too far from the print table
- Underextrusion Missing
- Flow rate too low
Remediation:
Lighten Zoffset to nods closer to the print table, and check your flow installation. If the improvement has not yet been made, make sure that it is partially blocked.
Rural, bavia Blobs or Zits
This error appears in the form of small notes or plastics emerging on the first print class. Although it is not too serious, it will affect the aesthetics of the print.
Common cause:
- Too much plastic.
- The temperature is too high.
- The plastic flow is unstable
Remediation:
First, let's reduce the zero. Then re-check the flow outte to make sure that it's not too much plastic. If the surface is still irregular, it may be in a slight jam and needs to be cleaned.
The plastic is unstable Inconsistent Extrusion
Một số chỗ in đẹp, một số chỗ lại lỗi — trông khá ngẫu nhiên và thiếu đồng đều.
Common cause:
- Nozard is partially blocked
- Filament's not a regular.
- Filament is wet
Remediation:
Đảm bảo đường đi của filament trơn tru và extruder kẹp nhựa đủ chắc. Nếu filament đã để ngoài không khí lâu, hãy sấy khô — việc này hiệu quả hơn bạn nghĩ.
Loses or removes the line Missing / Skipped Lines
This is when parts of the first printing class are completely non-printed.
Common cause:
- NoMaj is blocked.
- Extruder failed
- Filament stuck.
Remediation:
First, check to see if the filament is coming out. If not, the problem is more likely to be in nobud or extruder and needs to be tested, hygienic or revised.
Early Print Layer Calibration High Error
This is the most frustrating of the first class. Although other parameters were correct, a minor deviation in height or scale of the print table would be enough to damage the entire first layer. The line between perfection and error is sometimes a very small adjustment.
The first layer is too thin or too thick
If the first layer is almost transparent, it's too thin. It's too thick if it's crushed.
Common cause:
- The Zoffset is inaccurate
- Unweighted Printing Table
Remediation:
Điều chỉnh lại Z-offset. Đây là thông số rất nhạy — chỉ cần chỉnh một chút cũng tạo ra khác biệt lớn.
Unclassified Top Printing Layer
Một bên in đẹp, bên còn lại lỗi — đây là dấu hiệu điển hình của việc cân bàn in chưa chuẩn.
Common cause:
- The printing table is not properly weighed
- Print table surface is curved
Remediation:
Review the print table carefully. If the automotive/moon support engine, run again. At the same time, make sure the table surface is flat and placed in the right place.
No scrounging the surface / layer of printing is overly pressed
If it is too close to the print or pushing the plastic, it is too close to the print table.
Common cause:
- Zoffset too low
- Flow too high
Remediation:
Raise it a bit and reduce the flow if necessary. The goal is to ease the filament down, not iron it on the surface.
SurfaceDevelops on Layer
Even if the print is good and the plastic is stable, you may still have some minor surface errors. These errors are not always serious but can affect the accuracy and aesthetics of the product.
Elphrant Foot Boil
Sometimes you'll see that the bottom half of the print gets out more of the raft than the upper edges. This is called the elephant leg phenomenon.
Common cause:
- Table temperature is too high
- The first layer was pressed too hard
Remediation:
Lighten the print table temperature or re-adjusted Zoffset. Some software slicer also features elephant foot compensation to process this error.
Silk / rusting Striking or Oozing
You can see thin plastic or plastic fibers that appear between the print lines in the first layer.
Common cause:
- The temperature is too high.
- The leak in the movement
Remediation:
Lighten the temperature nod. This is usually not too serious in the first class, but it may appear if the temperature is higher than necessary.
The first printing class errors can cause a lot of discomfort, especially if you don't know where they came from. However, as you have seen, most of these errors are related. A minor deviation in height, temperature, or purity of the printing table can also lead to various problems.
When you have a clear understanding of what each kind of error looks like and the cause behind them, the remedy becomes a lot easier. Instead of making random adjustments, you can identify the right issues and process them quickly, saving time as well as materials.
To achieve the perfect first layer of printing, focus on the basic elements: balance the correct print table, set the right Zoffset, control the appropriate temperature and always keep the print surface clean. Just doing this well, your print quality will improve dramatically from the first class.