Standard Guide Administrative 3D to In Checklist From AZ
Why prepare 3D files before printing?
File 3D is the input of the entire print process. If the file fails, the printer no matter how good it is to produce the product that reaches the request. A careful preparation of files helps:
Printing error limit failed
Save time and material costs
Make sure the size and shape are properly designed
Advanced product surface quality
The process of creating a complete 3D print file

To create a 3D print file that can be used effectively, you need to go through multiple segments, starting from suture to form ideas until you've completed post-print data processing.
Basic steps to create 3D print file
The first step is 3D model design using specialized software such as AutoCAD, Blender or equivalent tools. Each piece of software will be in accordance with different purposes, so you should learn and choose the solution according to your needs.
In the 3D printing field, the two most commonly used file formats are OBJ và STLYeah. In it, format STL is often preferred due to high compatible capabilities with multiple print lines and 3D print processing software.
Engineering Elements to Note When Designed
In the process of modeling, you need to pay special attention to some important elements:
The Closeness of Model: File 3D needs to ensure aangular structure, no gap or lack of face. If the model is not sealed, the printer may not properly identify and lead to errors when printing.
Thick to Object: The thickness must be set clear from the design and consistent with the print parameters. The design is too thin or in sync with printer installations that will directly affect the duability and quality of the product.
Combination of Blocks: When models are created from various blocks, make sure the blocks are fully merged, no more intersecting parts or overlaps cause confusion for the printer.
small details processing: Details such as Braille, flowering, or small textures need to be scaled in a reasonable size so that when printed still retains clarity and accuracy.
After finishing the design, you simply export the file by selecting gt; Exeter, then save in format STL or OBJ to be ready to insert into 3D printing process.
Guide to 3D print output for new starters

After having the complete 3D model, the next step in the 3D printing process is to convert that model into Command Data so that the printer can read and carry out. This job is processed through Slicer software, nơi mô hình sẽ được chia lớp và chuyển thành file G-code.
Dưới đây là các bước cơ bản giúp bạn tạo file G-code đúng chuẩn, từ lúc chuẩn bị mô hình cho đến khi sẵn sàng in trên máy.
1. Thiết kế hoặc chuẩn bị mô hình 3D
Bạn có thể tự tạo mô hình bằng các phần mềm thiết kế 3D như AutoCAD, Blender, Fusion 360, SketchUp… Ngoài ra, người mới cũng có thể tải sẵn file từ các thư viện chia sẻ mô hình như Thingiverse hoặc Printables.
Sau khi hoàn tất thiết kế, mô hình cần được xuất sang định dạng phù hợp cho in 3D, phổ biến nhất là STL hoặc OBJ.
Trong hầu hết các phần mềm, thao tác này được thực hiện bằng cách vào gt; Exeter và chọn định dạng mong muốn.
2. Mở file STL/OBJ trong phần mềm Slicer
Tiếp theo, sử dụng phần mềm Slicer như Cura, PrusaSlicer hoặc Slic3r để xử lý file in.
Mở phần mềm, chọn Load model hoặc Open file, sau đó nhập file STL/OBJ vừa xuất.
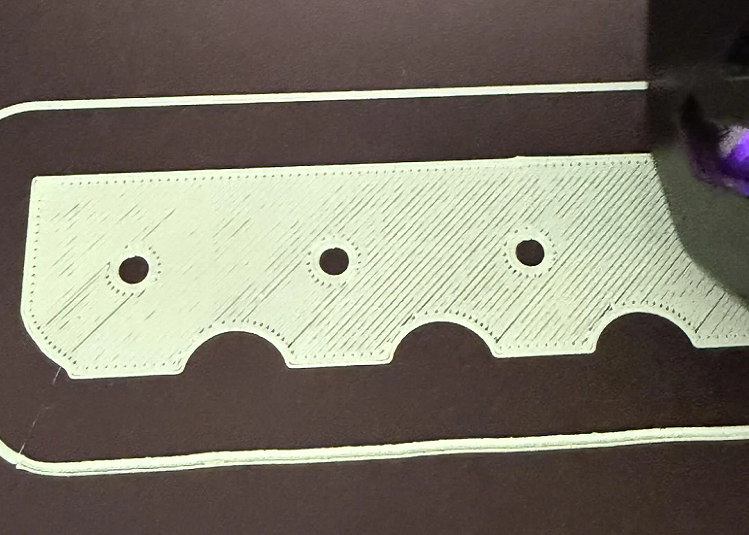
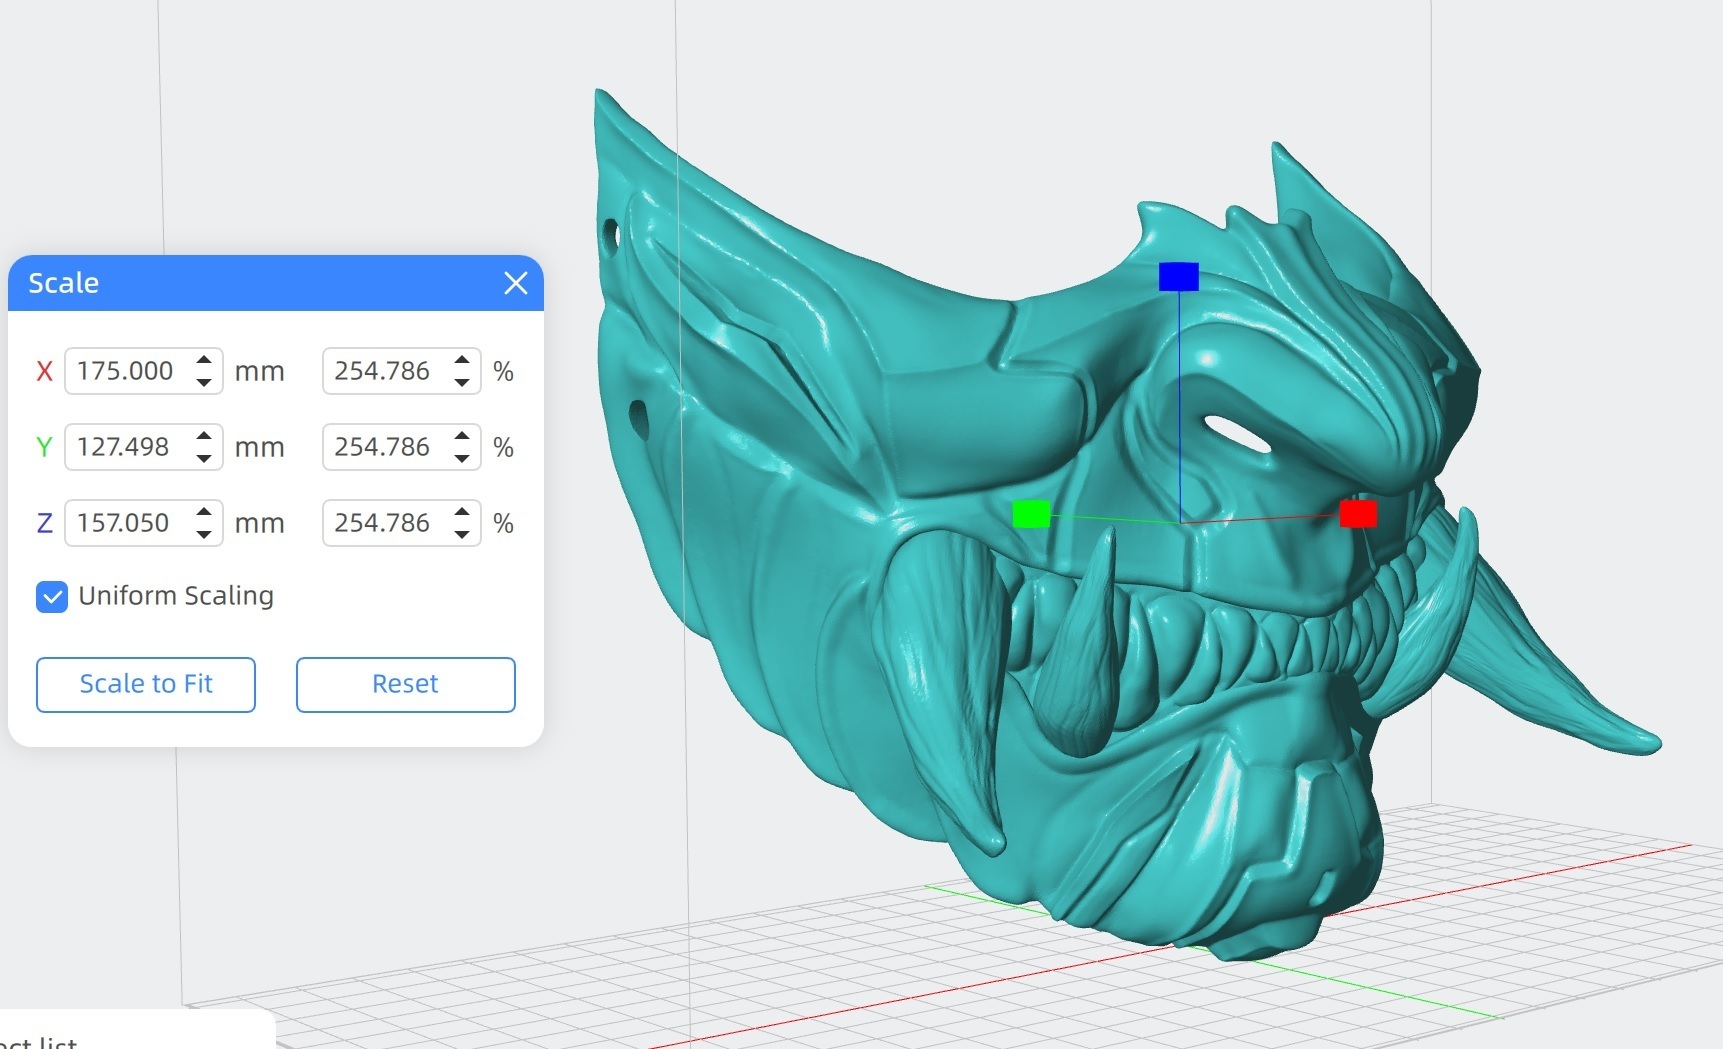
Khi mô hình hiển thị trên màn hình, bạn có thể xoay, phóng to hoặc kiểm tra tổng thể hình dạng để đảm bảo không có lỗi trước khi in.
3. Thiết lập thông số in trong phần mềm Slicer
Ở bước này, bạn cần cấu hình các thông số in quan trọng, bao gồm:
Layer height (độ dày lớp in): ảnh hưởng đến độ mịn bề mặt và thời gian in.
Infill (độ đặc bên trong): quyết định độ cứng và trọng lượng của sản phẩm.
Supports (cấu trúc hỗ trợ): cần thiết với các chi tiết nhô ra hoặc lơ lửng.
Nhiệt độ đầu in, bàn in và tốc độ in: thiết lập theo loại vật liệu sử dụng như PLA, ABS hay PETG.
Trước khi tiếp tục, bạn nên xem trước mô phỏng từng lớp in để đảm bảo mô hình có thể in thành công.
4. Xuất file G-code
Sau khi hoàn tất các cài đặt, chọn Export G-code hoặc Save G-code để tạo file lệnh in.
File G-code chứa toàn bộ thông tin điều khiển máy in, từ chuyển động đầu in đến quá trình đùn vật liệu theo từng lớp.
Lưu ý rằng mỗi file G-code chỉ phù hợp với một cấu hình máy in cụ thể. Khi thay đổi máy hoặc thông số, cần tạo lại file mới.
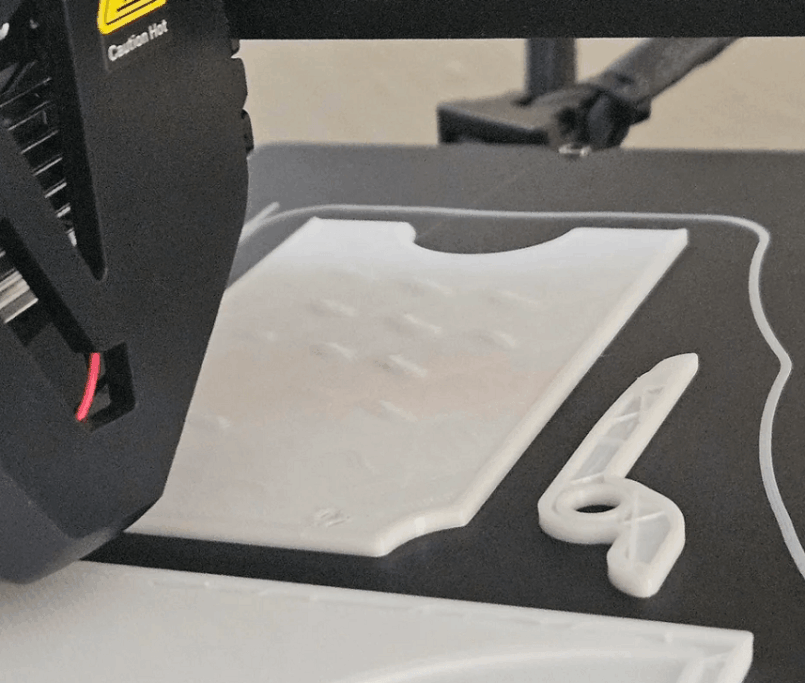
5. Chuyển file G-code sang máy in 3D và bắt đầu in
Cuối cùng, sao chép file G-code vào máy in thông qua thẻ SD, USB hoặc kết nối trực tiếp.
Trước khi in, cần kiểm tra bàn in, cân chỉnh độ phẳng và đảm bảo vật liệu in đã được nạp đúng cách.
Khi máy bắt đầu hoạt động, hãy theo dõi lớp in đầu tiên để đảm bảo vật liệu bám tốt và quá trình in diễn ra ổn định.
Làm chủ quy trình chuẩn bị và xuất file in 3D chính là nền tảng để tạo ra sản phẩm in đạt chất lượng cao. Khi bạn hiểu rõ từng bước, từ khâu xử lý mô hình, thiết lập thông số in cho đến tạo file G-code, các rủi ro như in lỗi, sai kích thước hay lãng phí vật liệu sẽ được giảm đáng kể. Dù ở giai đoạn mới tiếp cận hay đã quen thuộc với công nghệ này, việc nắm chắc quy trình sẽ giúp bạn làm việc hiệu quả hơn, tiết kiệm thời gian vận hành và khai thác tối đa khả năng của máy in 3D.