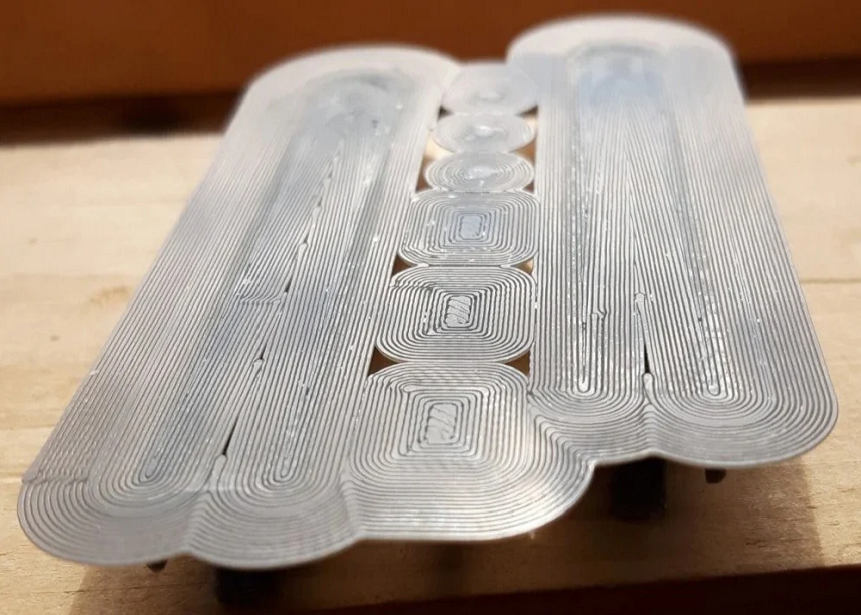
How to Remove Print Class In 3D: Cause and Revival
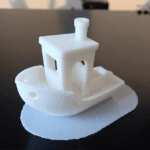
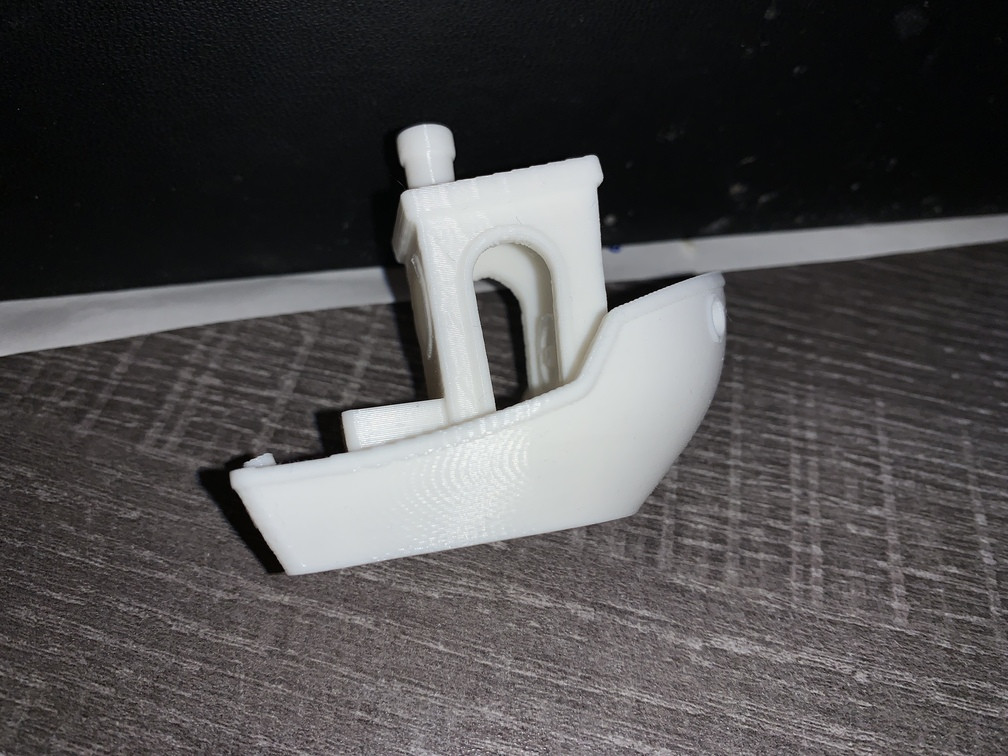
Bạn vừa lấy một bản in ra khỏi bàn in. Hình dạng thì chuẩn. Kích thước cũng chính xác. Nhưng khi ánh sáng chiếu vào đúng góc, bạn sẽ thấy ngay — những đường sọc ngang mảnh chạy quanh bề mặt, giống như các vòng sinh trưởng trên thân cây.
That's it. layer lines In 3D printing, and they're the fastest factor that makes a model that seems to be perfect again... incomplete.
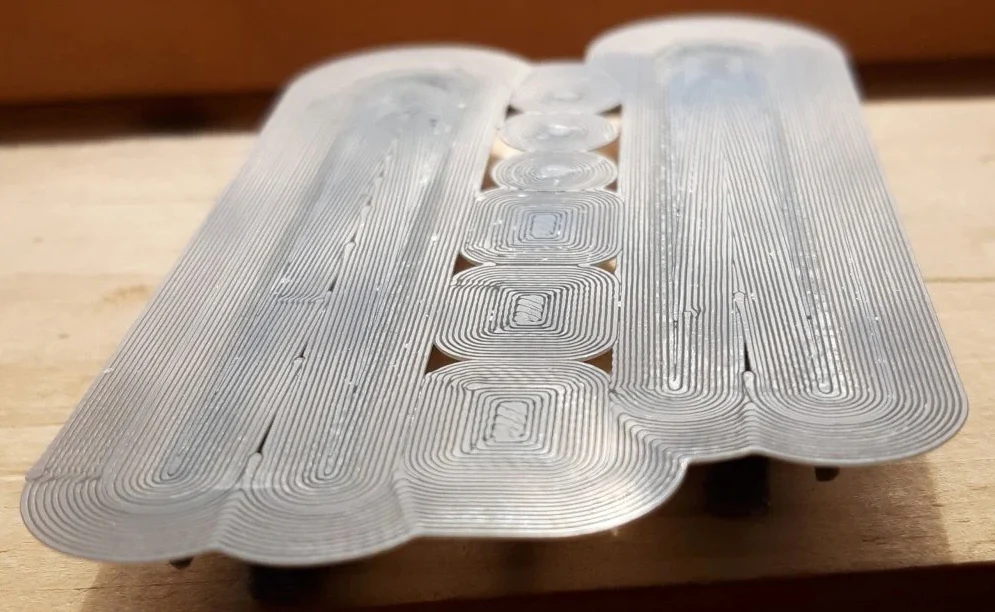
In fact, the layer in 3D printing is not an error. Với các thiết lập slicer phù hợp, hiệu chỉnh máy chính xác và xử lý hậu kỳ đúng cách, bạn hoàn toàn có thể giảm thiểu đáng kể — thậm chí gần như loại bỏ — các vân lớp này.
This article will help you to understand the source of the layer And how to control them works.
What is Layer Lines in 3D Printing?
The layer also called Layers either Lynes stepIt's a translucent stripe that you can see on most of the 3D print products.
They appear because FDM printing technology does not create objects in one single time, but Build one layer at a time.
Every time the head sprays out a new layer of plastic, it puts on the pre-class, creating a very small edge. When you look closely or touch your hand on the surface, you can feel these edges as the slight splints coming together.
On what factor does the clear extent of the layer etc. depend?
The clarity of layers is not the same, but depending on many factors:
- Layer height:
The thiner the layer [the more fine and smoother the surface]
The thicker the layer, the stronger the layer, the more the ladder effect. - Filament Material Type:
Like PLA easy to rub and complete
Filament ball or carbon County, glitter... easier to reveal. - Cold print speed:
Printing too fast or cooling not all can make the classes dissimilar (10, etc. - Calibration Machine Editor:
The machine is well-adjusted Estep, the belt is stretched, the scale table will create a layer that is more moderate and beautiful - Details shape Geometry:
The surfaces curved or tilted will be more likely to see the stair effect than the flat surface
Why did the class appear?
Classes appear due to the core characteristics of FDM technology. Because models are created layer by layer, any factor that affects the creation, adaptation or stack of layers will affect the level of display.
Layer height and Resolution
Each 3D printer has a limit on the level of detail vertically, and that limit is controlled by layer height which you set in slicer.
When you print with thicker layers, each layer creates a more specific step on the surface. When you use thiner layers, these levels become smaller and harder to see.
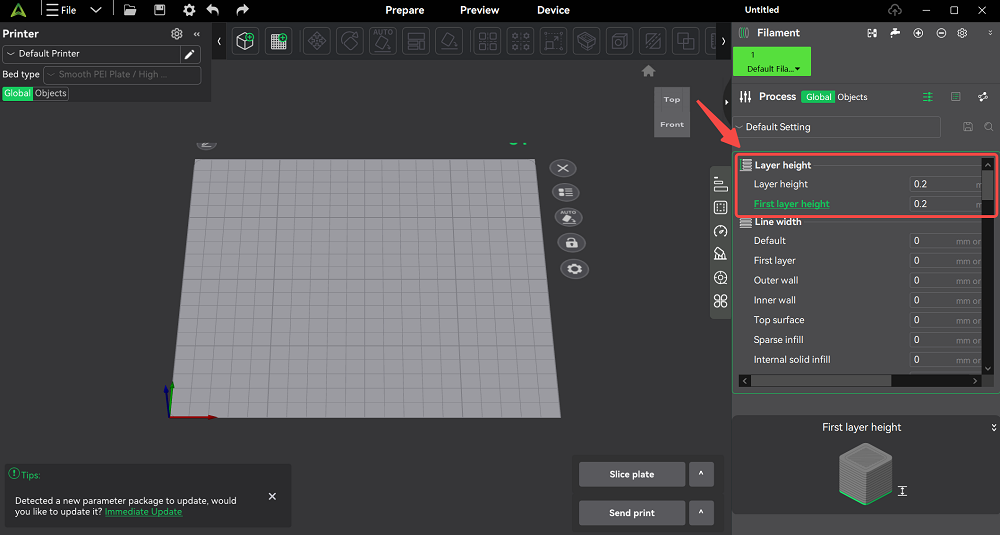
- The size is very important: A common principle is to keep class height in distance 25% to 75% of the diameter..
- Variation class height: Some software like Creality Print 6.0provide an adaptation or variable class height feature. This feature automatically uses thiner layers in curved or detailed areas, and thicker layers in flat sections.
- Planning Resolution: If your goal is surface quality, the thinr layers deserve longer print time. If speed is more important than appearance, thick layers may be better options.
Z-axis oscillation and mechanical problems
Not all layers have equal or perfect distances. When you see the repeat strips or the ripples, the cause is usually mechanical, especially in Z-axis — bộ phận điều khiển chuyển động theo chiều dọc.
- Zband error: The appearance in the form of repeat horizontal edges is all around the print. The causes of the screw shaft are often bent, the track is deflected, or the coupler joint is squeezed too tight or stuck. As the Z axis moves up, these small mechanical errors repeat, forming visible strips.
- Zwobbble: Creates a ripple surface, not even on vertical surfaces. This may occur when the iron axis is not entirely straight or when the ball ring is worn or deflected.
The plastic is unstable Inconsistent Extrusion
Classes can also become more evident due to irregular plastics. If the printer pushes out a bit or a little bit of filament in some layers, the surface will appear to be a spike or shallow dents.
This could happen if flow rate Estep in the firmware or the flow factor in the slicer is inaccurate, or when nozard is partially blocked or choked. The sudden change in the diameter of filament in cheap filament can also cause instability.
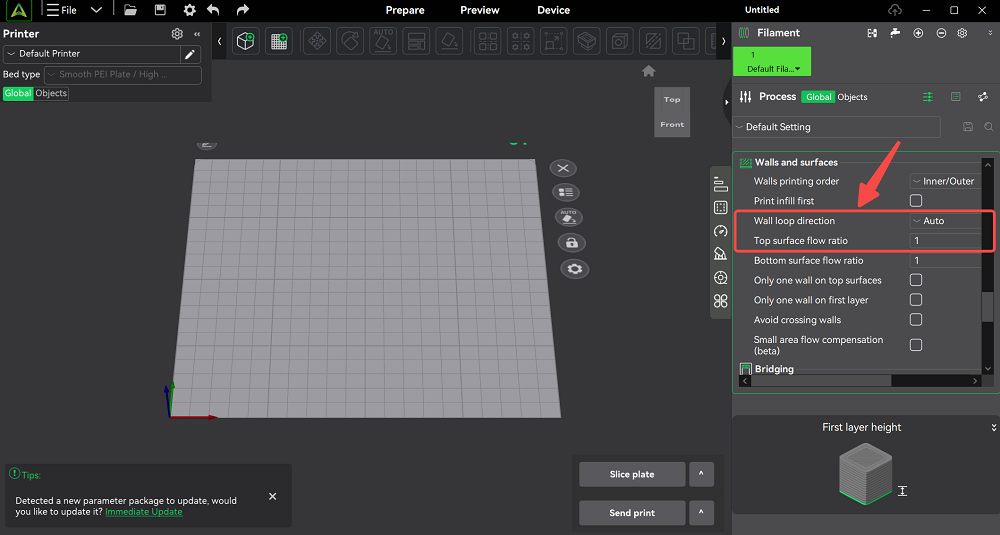
Edit Flow calibration traffic
The plastic revision is extremely important. Let's print a simple cube or use the standard template, measuring whether the amount of filament is right, then adapting Estep or install Window.
- Temperatures and phenomena: The hot head temperature too low can cause a lack of plastic in some layers; too high can cause excess of plastic and liquefying.
Speed, acceleration and cooling
Print speed and acceleration also affect class quality. Printing too quickly or cooling not all can clear the layer.
Using moderate speed, for example: 4060 mm/s for outer wallsYou're going to help each layer to be put down in a clean way.
How to Remove Layer Letters From 3D Printing
A reduction in the layer pattern starts with the refining of the printer and installment of the slicer. These adjustments take place either before or during printing, and often enough to make a marked difference without post-subscription.
Reduce class height in slicer
The simplest way to have smoother surfaces is to reduce class height.
In the slicer installation, such as Creality PrintThe transfer. 0.0 mm down 0.1 mm can significantly reduce the class seeing.
In return, print time will take longer, but surface quality usually deserves this exchange.
Edit Flow Rate and ESteps
Stable plastic is a key factor in good print.
Start by checking how much extruder actually pushes out filament when you ask 100 mmYeah. If the results are incorrect, make adjustments Estep in firmware or edit flow multiplier in slicer.
Improve Z-axis stability
Any destabilization on the Z-axis will also be shown to be non-subscriptal or repetitive layers.
- Step 1: Ties the screws loose on the frame and clustered Z-axis to remove the ferries;
- Step 2: Check the screws and the joints. The screw shaft needs to be straight and clean, the joint must be firm but not squeezed too tight;
- Step 3: Make sure the track or directional shafts of the Z axis are properly adapted and lubricated to the smooth motion axis which is between the layers.
Adjust print and temperature speeds
Finally, optimize print speed and temperature to smooth the 3D print:
- Slow print on the outer wall: Using extra-wall speeds that are equal to 4060 mm/s and can limit acceleration around 3000 mm/s2).
- Temperature optimum: Reduce temperature to distance 210°C may help reduce the ribbons with the PLA. In contrast, if the temperature is too low, the printing class may be lacking in plastic.
- Time each Layer Hearting: If a layer is very thin, turn on the minimum level time or speed of printing to avoid the next layer printing when the previous layer is not in time to stabilize.
Common Questions About Class 3D Printing
Q : Can I completely avoid classes in FDM print?
A: Any FDM printer in filament is made in layers, so some layers are inevitable. You can reduce them, but there will never be a single FMD print that has absolutely no etc.
Q : How do we remove the 3D printing class without a date?
A: The best way is to optimize the print process. Use the small class height, correct the printer properly and finely adjust the speed/speed as mentioned above.
Total
Classes in 3D print are a normal part of FDM technology, but they don't necessarily break the final product.
Bằng cách hiểu rõ các nguyên nhân — như chiều cao lớp, căn chỉnh cơ khí, độ ổn định đùn nhựa và các cài đặt in — bạn có thể giảm đáng kể mức độ hiển thị của các vân này.
DETSA The optimum solution for high quality 3D printing
If You Are Seeking 3D smooth, precise and professional printing solution, DETSA provides fully from printers, scanners to detailed technical advice.
The DETSA team is available to support you:
- optimum printing settings match each need
- The actual problem processing guide, the layer defect, lack of plastic...
- Adapting equipment from basic to advanced
Contact DETSA to be advised 3D solutions best suited to you!