Numerous Waves on the Print surface 3D Ringing and Revival
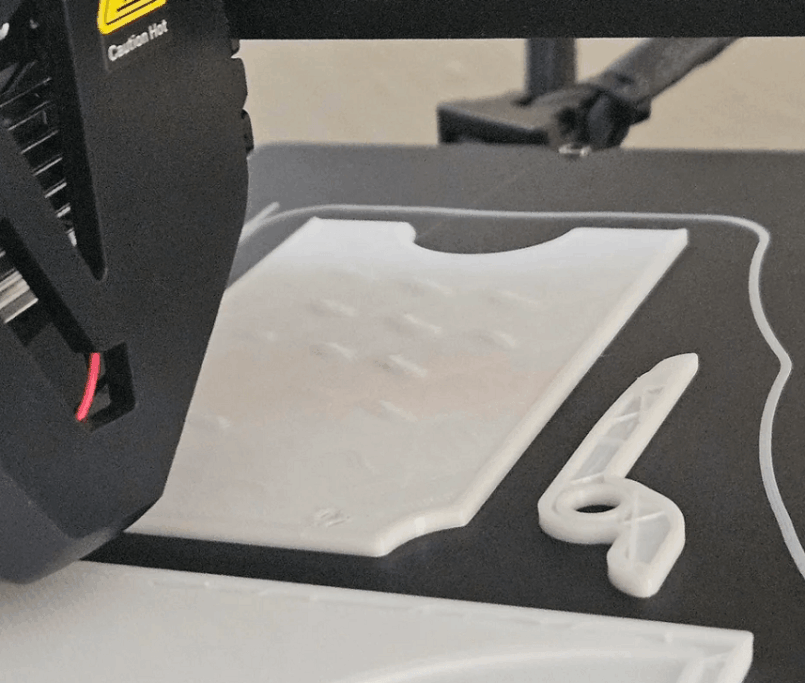
Waves on 3D Printing surface, often referred to as Ringing either Ghosting, It's a recurring small wave phenomenon that appears on the model surface, especially around sharp or floating angles.
Although this error did not completely damage the structure of the print, it did much to The surface smoothness and aestheticity of the productYeah. With the display models, the prototyping product or technical detail requires high completion, ripples on the surface can make the print look less professional.
In fact, Ring error in 3D printing usually related directly to printer's mechanical vibrations, especially when the print head moves fast and must change direction suddenly. When this vibration is transmitted into the plastic layer is coming out, small waves will appear on the model surface.
In this article, we'll look at the details. Spilling on the 3D printing surface is what, the cause of the ringing phenomenon and effective remedy methods helped greatly improve the quality of print.
What's 3D Ringing Front Wave?
Riding on the Printing 3D Ringing surface is the phenomenon of the repeat small waves that appear on the surface of the model after printing. These lines are often spread out from the edges or details float and have quite a equal distance.
This phenomenon occurs when the print head of the 3D printer shook during the moveYeah. As the printing head changes direction, especially at the right angles, the accruation of the mechanical system causes it to continue shaking for a short period of time. This vibration is transmitted into the melting plastic layer which is both formed, creating waves on the surface.
In many cases, Ringing is also known as Struggling, because the waves look like a shadow of edges or Braille on the model.
This error often appears most explicitly on simple-shaped models such as the cube or the details with the sharp edges. As you look closely, you can see small waves coming out of the edge of the model that are like a sprain effect.
Ringing error recognition mark in 3D Printing

The correct recognition of the ripple error on the 3D printing surface helps users quickly to identify the cause and to offer a suitable solution. In many cases, new people using 3D printers may mistakenly rippling with other errors such as understrusion or lớpl shifting.
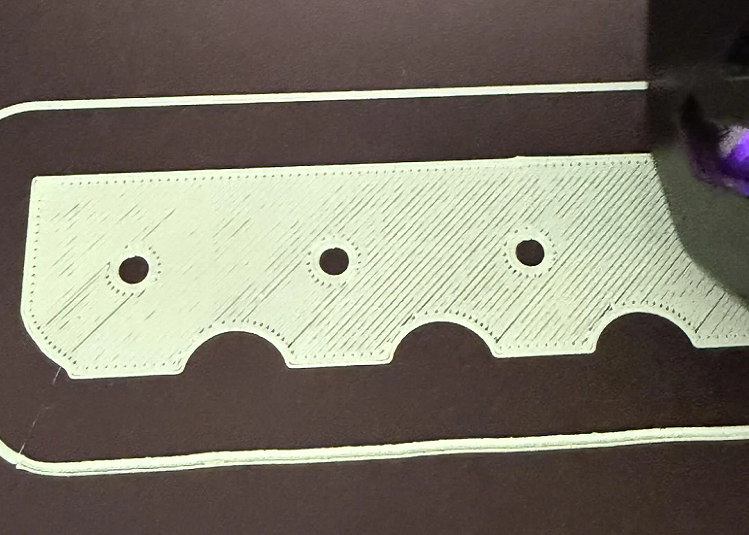
One of the most conspicuous signs of Ringing is faint waves appear after angles or details floating on modelsYeah. These lines typically run parallel to the edges of the details and have nearly equal distances.
Additionally, the surface of the print will no longer be as smooth as usual. As you look under the light, you can see small sprains that resemble the shaking surface of the water.
Another important feature is Ring error often appears more clearly when printing at high speedYeah. As the printing rate increased, the vibrations of the mechanical system also increased, making surface waves more apparent.
This phenomenon is commonly seen on vertical surfaces or around areas with sudden movement changes of the print head.
Causes of Causes of Waves on the surface of In 3D
To thoroughly overcome the riping error, it is important to understand the factors that cause vibrations during the printing process. In most cases, the cause comes from the engine movement of 3D printer.
Printing Speed Too High
Printing speed is the most influential factor in the wavy phenomena on the 3D printing surface. When the printhead moves too fast, the mechanical system's pub makes it impossible to stop immediately when it changes direction.
This led to small vibrations in the motion system. As the print head continued to move after changing course, this vibration remained for a short period of time and was recorded on the printed plastic layer.
So as the speed of printing gets higher, the more likely it is to appear and become more apparent.
Acceleration and Jerk Too Large
In addition to print speed, the parameters move as acceleration và jerk also played a significant role in the vibrations.
Acceleration determines how quickly the print head speeds up or slows down. If the acceleration is too high, the print head will change its sudden speed as it moves through angles, which increases the vibration in the machine frame.
Jerk is the parameters that determine the rate of change of speed immediately when the print head changes direction. If this value is too large, the print head will change direction too quickly, leading to a stronger vibration.
Unstable Printer Frame
The printer frame plays an important role in absorbing and reducing vibrations. If the engine frame is uncertain or the screws are loose, the vibration from the motion of the print head will spread through the entire system.
This makes the ripples on the model's surface more apparent, especially when printed at high speed.
Some cheap 3D printers typically have a lightweight engine frame, making vibrations more likely than hard metal frames.
X-Axis or Y-Sharp
The wire is the moving department from motor to the printhead. If the belt is loose, the print head may not stop precisely when changing course.
At that time, the printhead will be slightly oscillating before settling, creating small waves on the printed surface.
The inspection and adjustment of the belt tension is a very important maintenance step to ensure the exact motion of the 3D printer.
Excessive Print Volume
The volume of the print head system also directly affects the riing phenomenon. Extruder Systems direct Drive Usually heavier than Bowden.
As heavy printing heads moved at high speed, large pubs made the system difficult to stop quickly. This increases the vibrations as it changes direction and leads to sprains on the surface of the model.
Way to Restore Ringing Error in In 3D
After determining the cause of the ripples on the 3D printing surface, users can apply various methods to reduce vibrations and improve print quality.
One of the simplest solutions is reduced print speedYeah. As the print head moves slower, the system's pub decreases, thus limiting vibrations. Many users have found that reduced printing speeds to about 4060 mm/s can significantly improve surface quality.
Besides, work adjust acceleration and jerk also makes the print head's motion smoother. As these parameters are reduced, the speed change of the print head will take place more slowly, helping to reduce vibrations in the machine frame.
Another important step is test the entire printing machine systemYeah. Users should make sure that all screws are tightened and the machine frame is not loose. If the printer is placed on a weak or shaking table, it should be moved to a more solid surface.
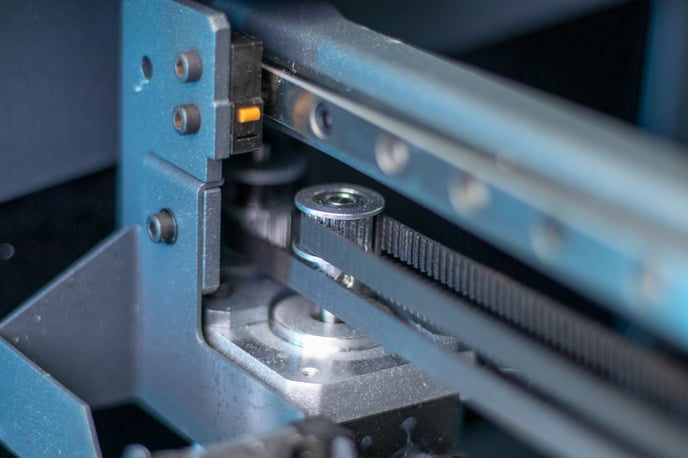
Jobs belt tension adjustment can also significantly improve the accuracy of the movement. The belt needs enough tension to transmit effective motions, but it should not be too tense as this can cause more vibrations.
In modern 3D printing systems, some firmware still supports technology Input Shapingwhich helps analyze the machine's vibration frequency and adjust the motion to eradicate the vibration. The technology can be very effective.
Tip Help Limited Waves on the Print surface
In addition to major methods, users can apply a few extra tips to improve the quality of the print surface.
Reduced speed of outer wall often helps the surface of the model to be smoother, as this is the layer that directly affects the product's aesthetics. Also, put a printer on Flap rubber also helps absorb vibrations and reduces impact on print.
Another method is: print calibation cube models After adapting the parameters. This makes it easy for the user to evaluate the level of riping and figure out the most appropriate setting for the printer.
Conclusion
Riding on the Printing 3D Ringing surface is a fairly common error during 3D FMD printing, often appearing due to mechanical vibrations when the print head moves at high speeds or changes direction suddenly. Although this error did not completely damage the model, it affected the smoothness and aestheticity of the print.
The causes of Ringing are often associated with over-print speeds, large acceleration parameters, loose belts or engine frames. Understanding these factors well allows users to adjust the parameters and optimize mechanical systems to reduce vibrations.
By reducing printing speed, checking the belt, increasing the stability of the machine frame and optimizing the motion parameters, you can completely decrease or remove wave phenomena on 3D print surfaceIt creates better surface quality models and more professionally.
If you want to learn more about common errors in 3D printing and detailed remedylet's follow more technical articles from DETSA to update the latest knowledge and experience in the field of 3D printing technology.